
Help
Install Guides
Safety first, every time. Video guides are on the way.
Before You Start
- Remove the magazine.
- Lock the slide open and check the chamber by sight and by feel to confirm it's empty.
- Move all ammunition to a different room.
- Work on a clean, well-lit surface with your firearm's owner's manual nearby.
Product Guides
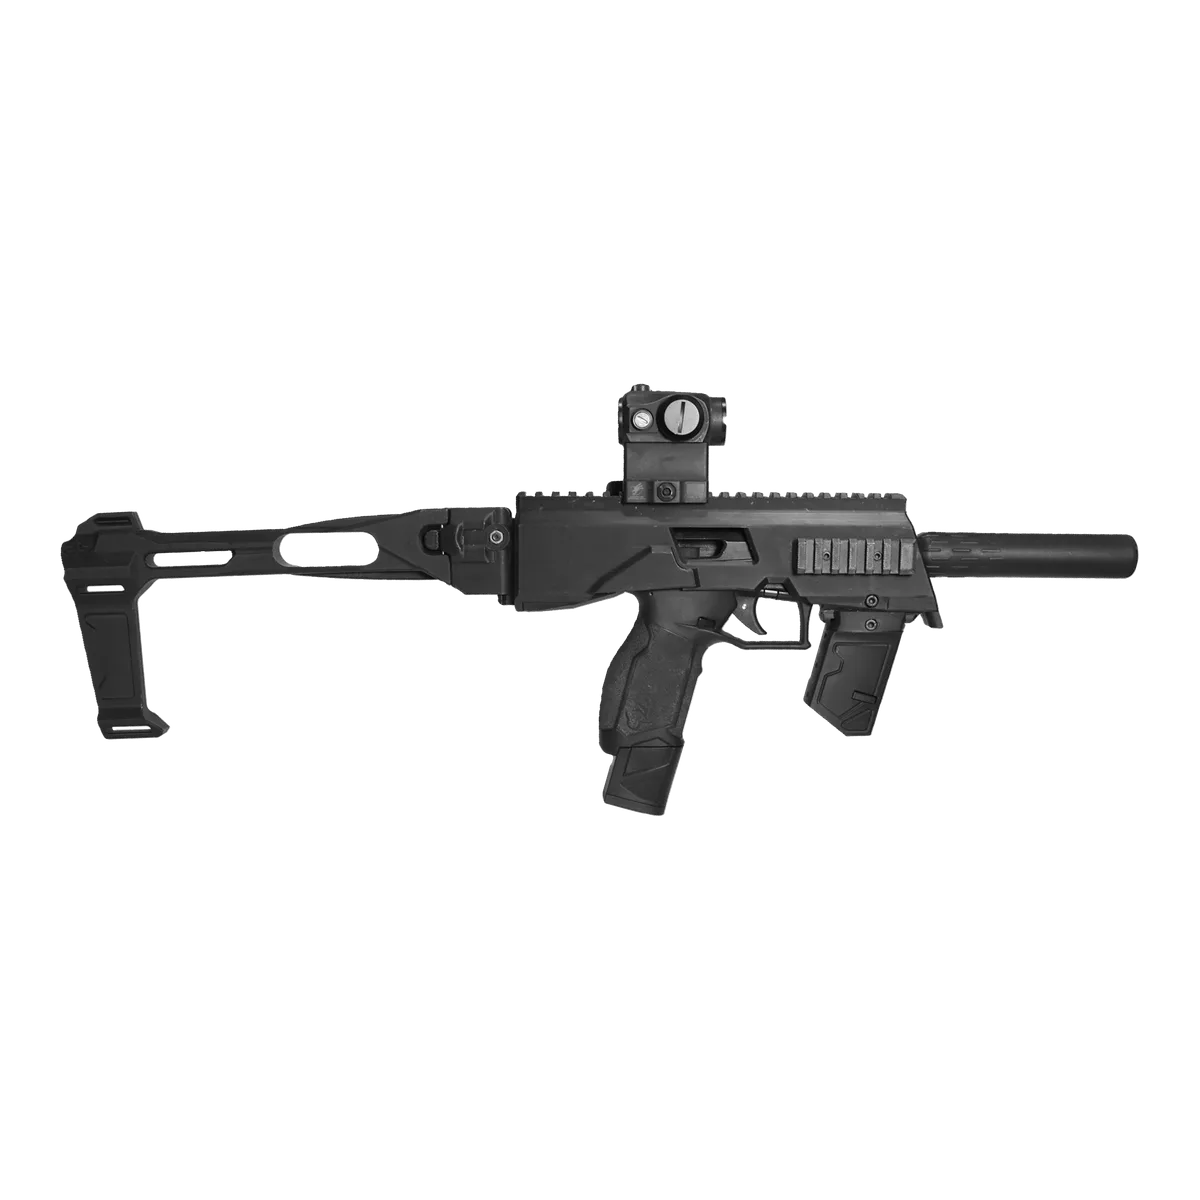 TX-7 MTN2 TX22 Chassis Kit
The step-by-step guide for this product is being written. Need help now? Email peakdefenseworks@gmail.com and we'll walk you through it.
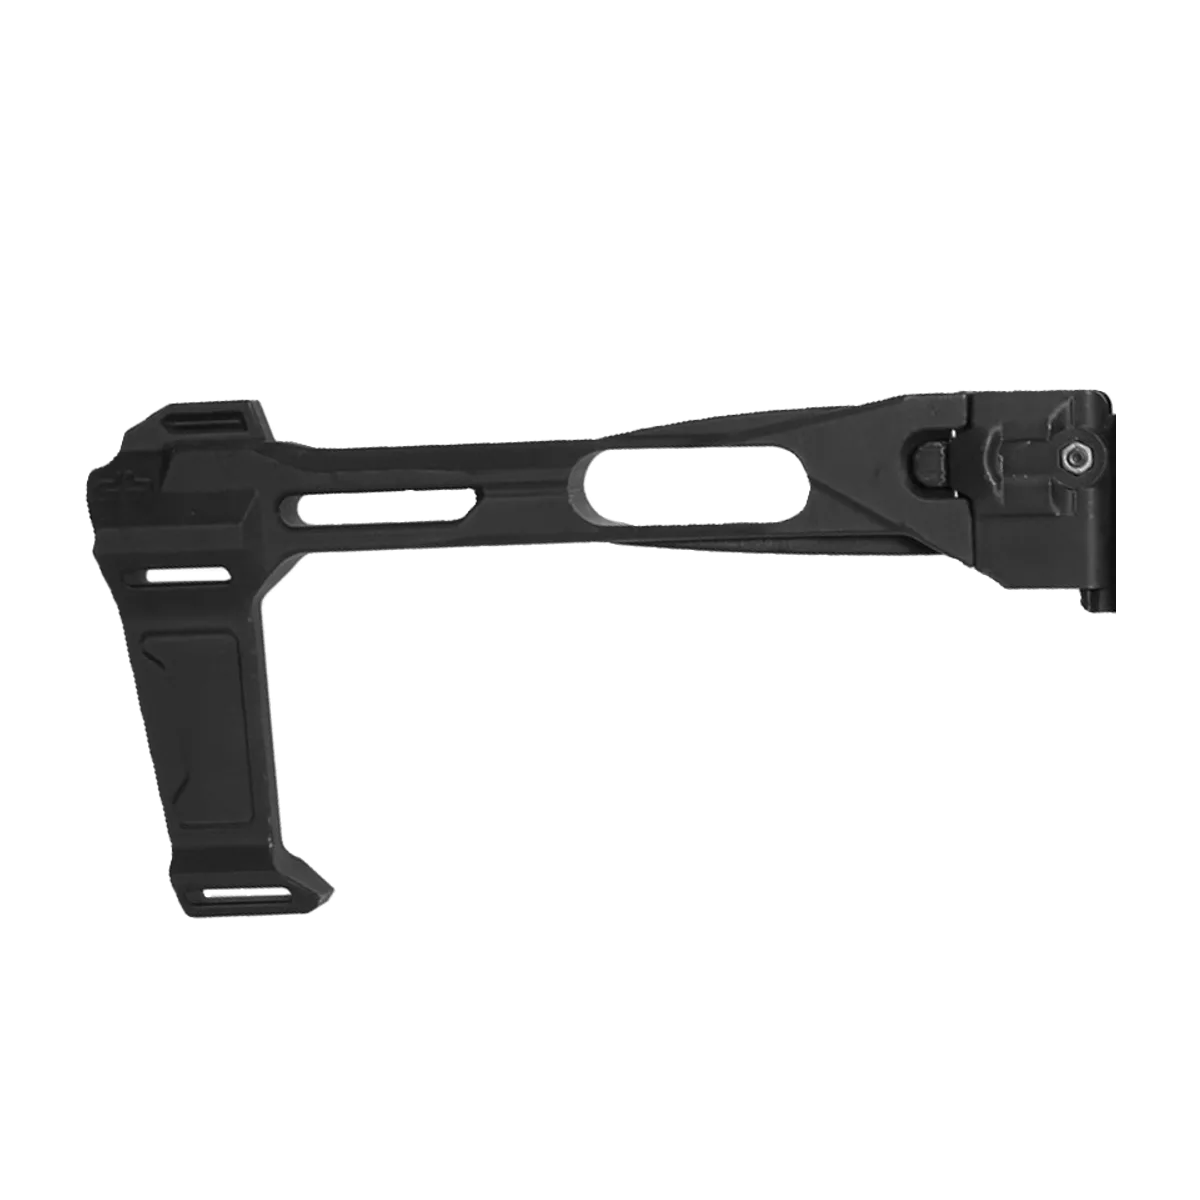 Picatinny Folding Pistol Brace
The step-by-step guide for this product is being written. Need help now? Email peakdefenseworks@gmail.com and we'll walk you through it.
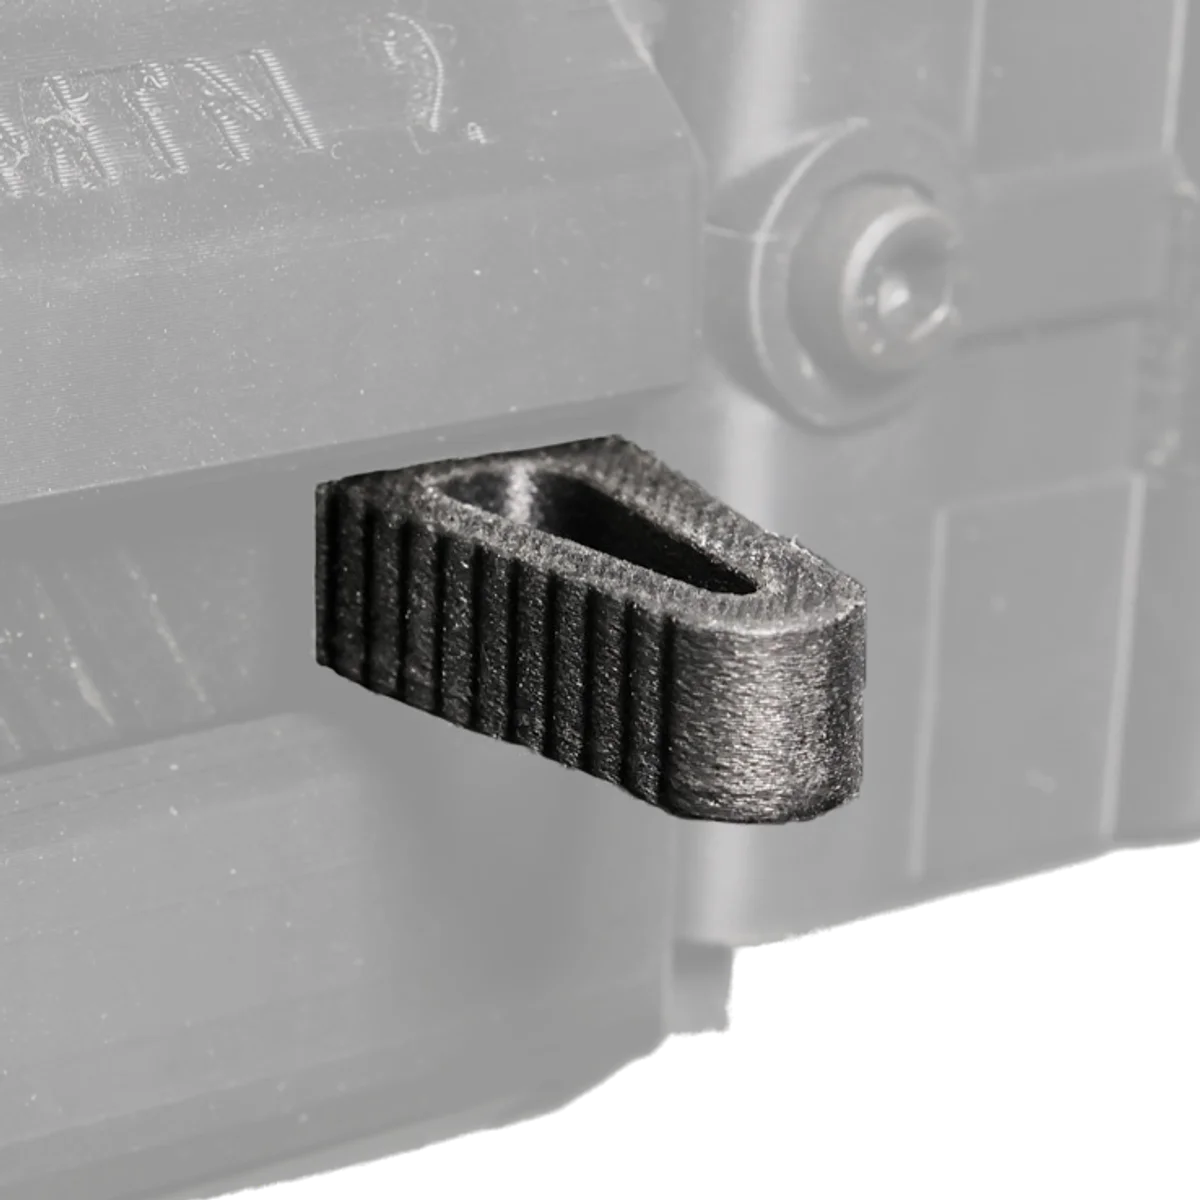 TX22 Backplate Charging Handle
The step-by-step guide for this product is being written. Need help now? Email peakdefenseworks@gmail.com and we'll walk you through it.
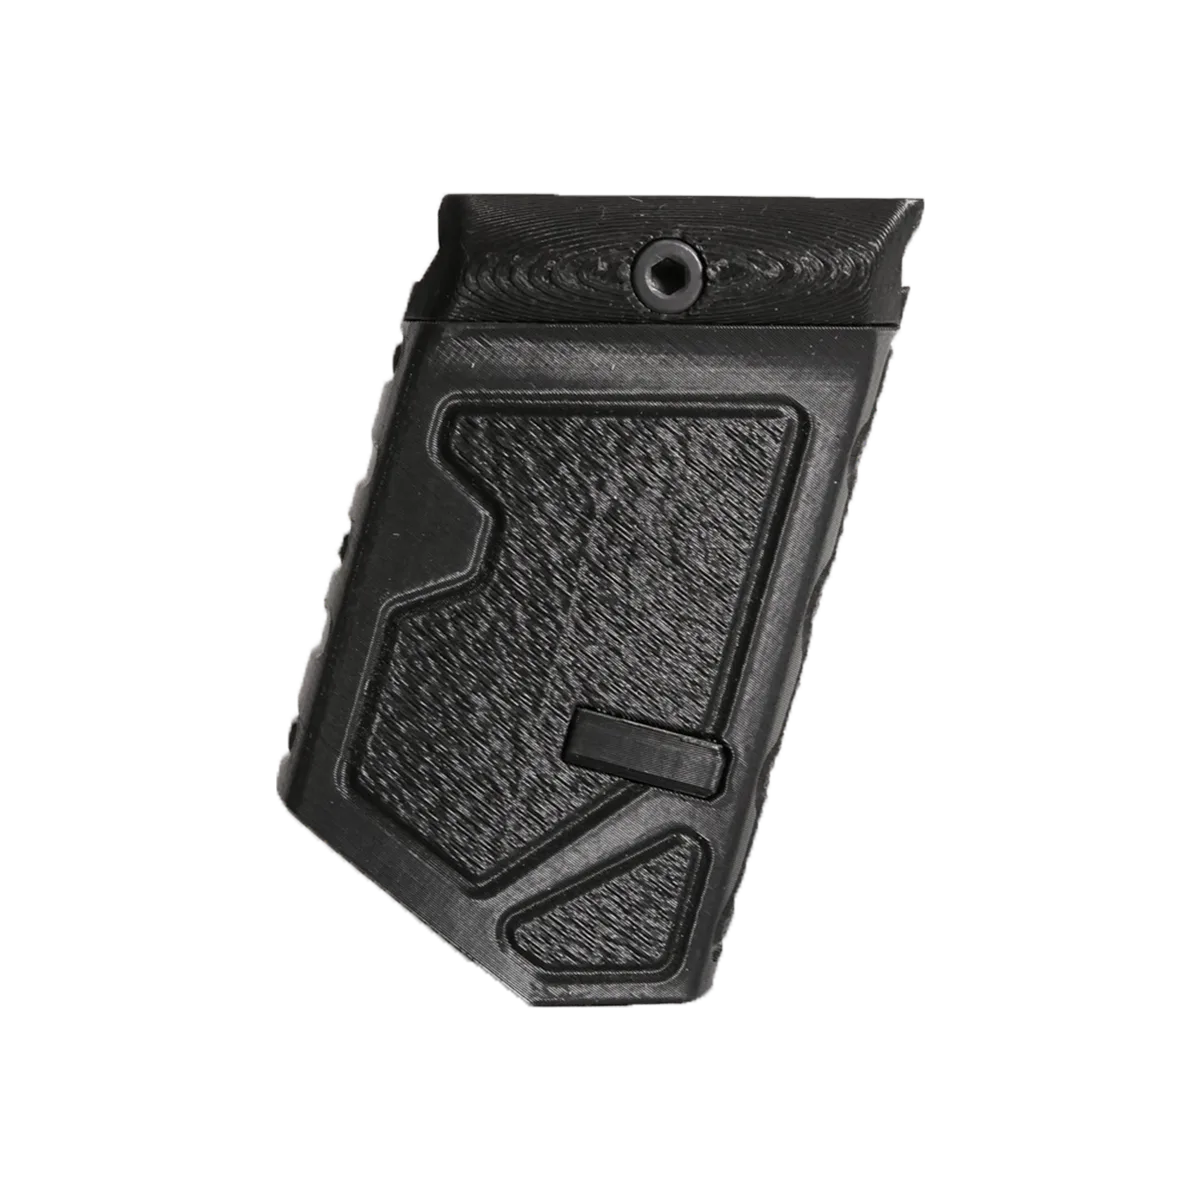 TX22 Foregrip Mag Holder
The step-by-step guide for this product is being written. Need help now? Email peakdefenseworks@gmail.com and we'll walk you through it.
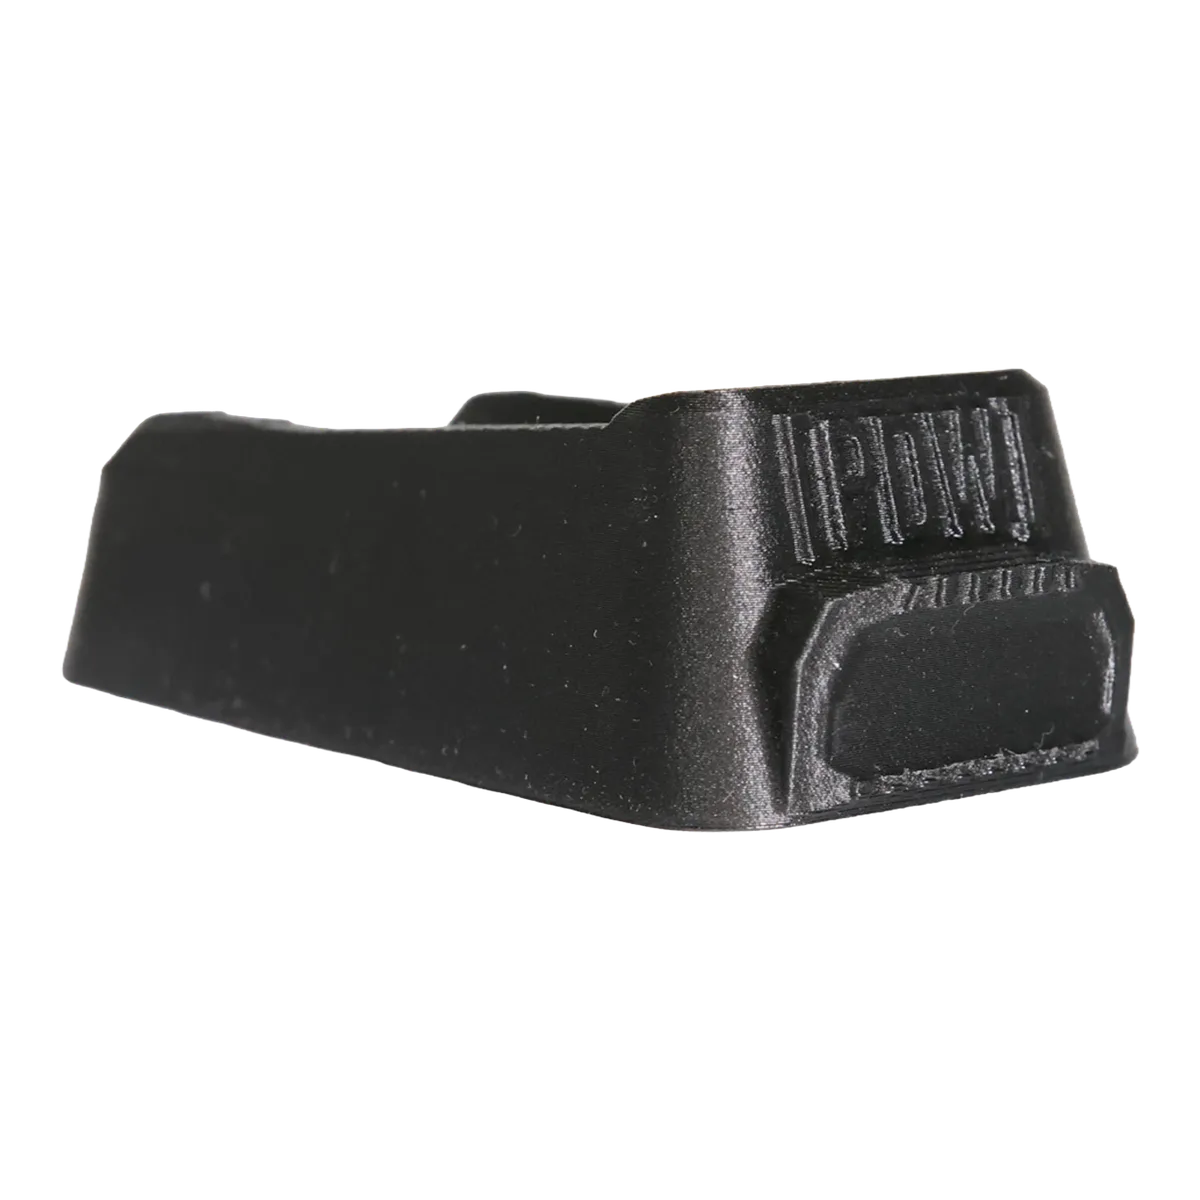 AR-15 Flared Magwell
The step-by-step guide for this product is being written. Need help now? Email peakdefenseworks@gmail.com and we'll walk you through it.
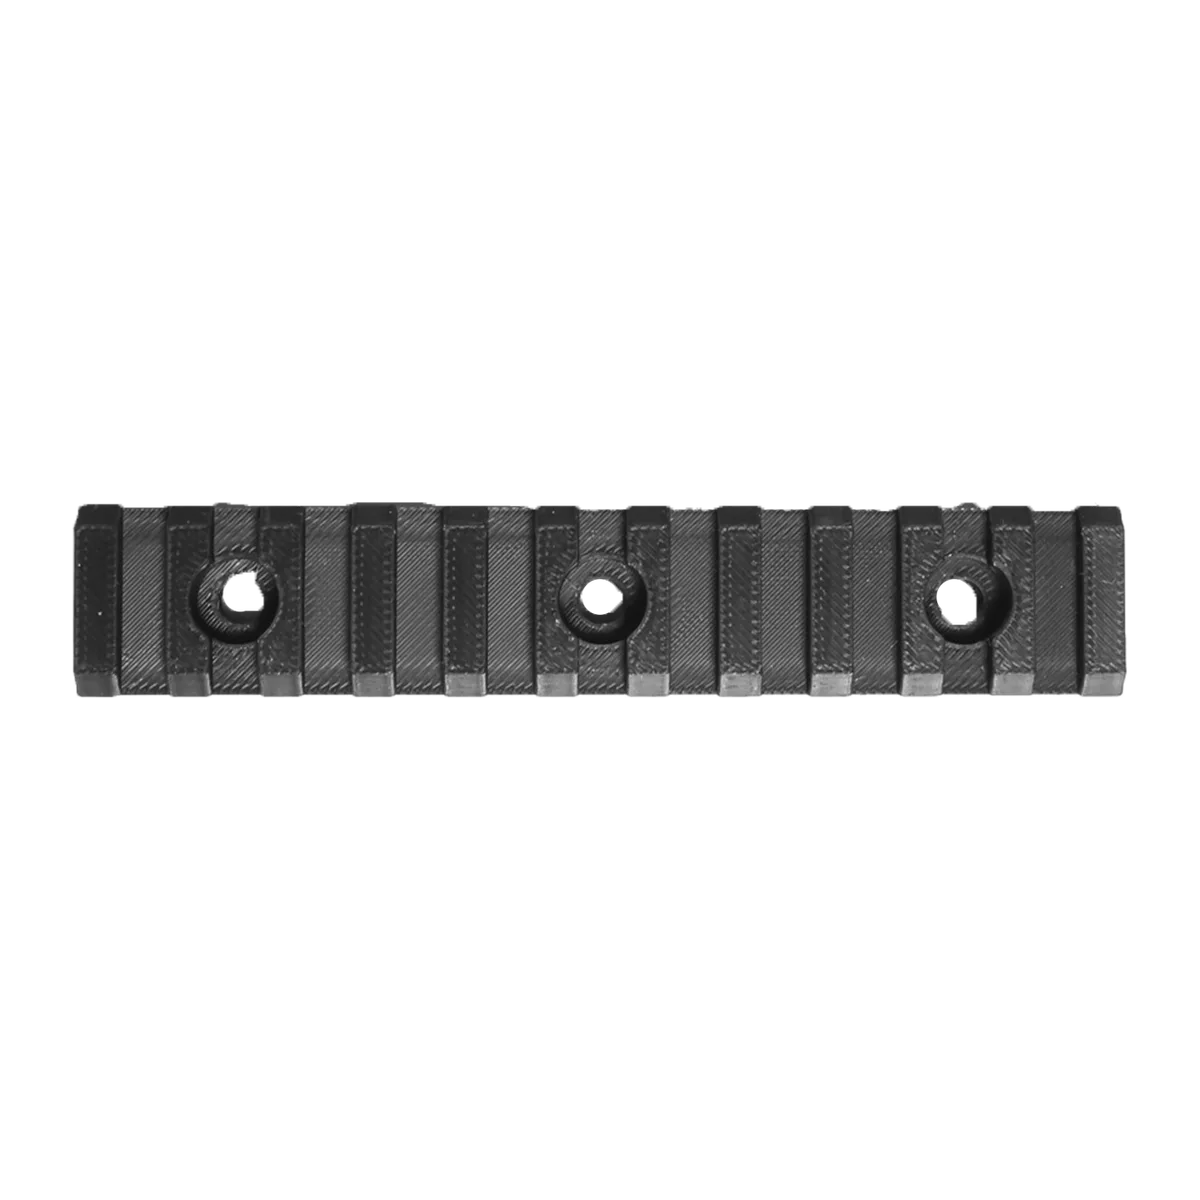 AR-15 Picatinny Rails
The step-by-step guide for this product is being written. Need help now? Email peakdefenseworks@gmail.com and we'll walk you through it.
After You Install: Function Check
Run this check with the firearm unloaded before you take it to the range.
- Confirm again that the firearm is unloaded and no ammunition is nearby.
- Insert an empty magazine. It should lock in place and drop free when released.
- Rack the slide several times. It should move fully without rubbing or binding.
- Check that the safety, slide release, and magazine release all work as the manufacturer intends.
- Make sure nothing blocks the ejection port or your sight picture.
- Fold, extend, or adjust any moving parts and confirm they lock in every position.
If anything doesn't work right, stop and contact us or a qualified gunsmith before firing.
Tips for 3D Printed Parts
- Tighten screws until snug. Over-tightening can strip or crack printed parts.
- Keep solvents, harsh cleaners, and high heat away from printed parts.
- Re-check all hardware after your first range session.
Installing aftermarket parts is done at your own risk. See our Terms and Conditions and Warranty.